Digitizing for Hat Embroidery: Avoid Common Mistakes & Achieve Perfect Placement

Hat embroidery is a powerful way to add personality, branding, and professionalism to headwear. But digitizing for hat embroidery isn’t as straightforward as digitizing for a t-shirt or jacket back. Hats have curves, seams, and structure that challenge even seasoned embroiderers.
If you’re struggling with hat embroidery digitizing, you’re not alone. Misplaced designs, distorted stitches, or crooked logos are often caused by digitizing errors, not your machine.
In this guide, we’ll show you how to digitize hat embroidery the right way, avoid common mistakes, and ensure your logo or artwork lands exactly where it should—with perfect stitch quality every time.
Why Hat Embroidery Requires Specialized Digitizing
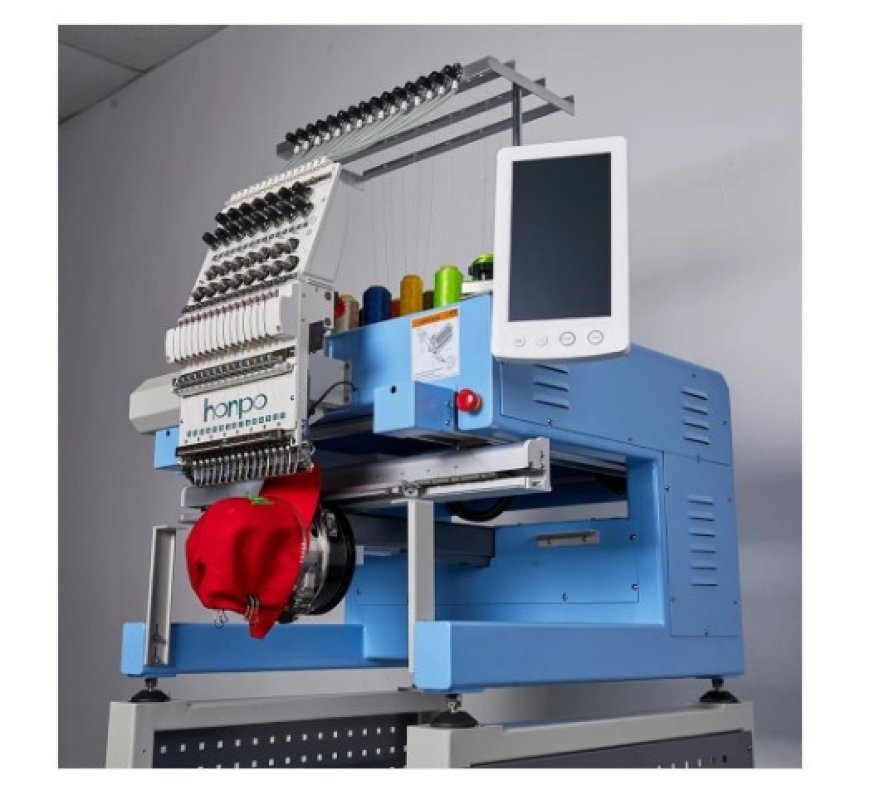
Unlike flat garments, hats are structured and curved. Embroidery machines stitch on a moving cylinder, and that changes everything. Here’s why hat digitizing is unique:
- Seam interference: Most hats have a center seam that can distort stitching.
- Limited embroidery space: The front embroidery area is often just 2.25" tall.
- Curved surface: Designs warp easily if not digitized properly.
- Hooping constraints: You can’t flatten a hat like a t-shirt.
For these reasons, hat embroidery needs a different approach—from file setup to stitch order and design placement.
The Difference Between Flat and Cap Digitizing
Many beginners make the mistake of using the same digitized file for both flat surfaces and hats. This rarely works.
|
Feature |
Flat Digitizing |
Hat Digitizing |
|
Surface |
Flat & stable |
Curved & rigid |
|
Stitch sequence |
Any logical order |
Center-out, bottom-up |
|
Underlay |
Light |
Heavier (to stabilize shape) |
|
Lettering |
Open and flowing |
Tighter, closer spacing |
|
Design tolerance |
Higher |
Very low |
Digitizing for hats requires purpose-built files that account for these factors. That’s why partnering with experts like Digitizing Buddy can save time, money, and thread.
Common Mistakes in Hat Embroidery Digitizing
Let’s take a look at the most frequent errors people make when digitizing for caps—and how to fix them.
1. Ignoring the Center-Out Rule
The fix: Always digitize from the center out and bottom up. This approach helps balance tension and avoids pulling the design off-center due to the curved surface.
2. Overly Dense Satin Stitches
Long satin stitches look great on flat surfaces but can cause major thread breakage or puckering on hats.
The fix: Break large satin areas into shorter, more stable segments or switch to a tatami fill if the area is too wide (over 12 mm).
3. Using Small or Thin Lettering
Fonts under 4 mm height often disappear or turn into blobs when embroidered on caps.
The fix: Use bold, blocky fonts and avoid fine script. Increase spacing between letters and underlay beneath the text for support.
4. Skipping Underlay Stitches
Hats are stiffer than shirts, so they need extra support under the top thread.
The fix: Add edge run or zig-zag underlay for stability. This keeps your top stitches from sinking into the fabric or deforming.
5. Wrong Placement on Hat Front
Designs that are too high or too wide won’t embroider properly—and may hit seams or buckle.
The fix: Keep your design inside the safe zone: usually 2.25” tall x 4.5” wide for most structured hats.
Achieving Perfect Hat Embroidery Placement
Great digitizing isn’t just about stitches—it’s about where those stitches go. Placement can make or break your design.
Front Center Placement
Most logos go on the front panel, centered between the seams. To achieve ideal placement:
- Measure 2.25” up from the sweatband.
- Align the design horizontally between side panels.
- Use a hat-specific hoop or cap frame for even tension.
Pro Tip: Use a centerline running stitch in your digitized file to help with positioning during setup.
Side or Back Logo Placement
For side logos:
- Stay about 0.5” away from seams.
- Limit size to around 2” x 2”.
- Avoid detailed elements.
For back logos or text (above the closure):
- Center horizontally above the strap.
- Keep height under 0.75”.
Best Practices for Digitizing Hat Embroidery Designs
Whether you're doing it yourself or sending your design to a digitizer, keep these tips in mind:
Start with a Simple Design
Complex gradients, small details, and overly intricate elements don’t translate well on curved surfaces. Simplify before digitizing.
Use Hat-Tested Fonts
Stick to block fonts like Impact, Arial Bold, or Helvetica Rounded. These provide better stitch quality and readability on hats.
Choose the Right Stitch Type
Use:
- Satin for small elements (up to 12mm)
- Tatami for filled areas
- Triple stitch for bold outlines
Use Proper File Format
Save your digitized file in a cap-compatible format like:
- DST for commercial embroidery machines
- PES for Brother/Babylock
- EXP for Bernina/Melco
Don’t forget: always test your PES file on a sample hat before mass production.
Tools & Software for Hat Digitizing
Digitizing for hats is possible with high-end software like:
- Wilcom Hatch (cap features & center-out stitching options)
- Embird (affordable and powerful)
- Brother PE-Design (for PES files)
- TruEmbroidery (for Mac users)
However, digitizing for hats has a steep learning curve. If you're short on time or need perfect results, outsource to a pro. Digitizing Buddy offers custom digitizing services tailored for hat embroidery—fast turnaround and stitch-accurate results included.
Final Thoughts
Digitizing for hat embroidery isn’t just about converting your logo into stitches—it’s about planning, precision, and placement. Hats pose unique challenges that flat garments don’t, and ignoring those details can lead to misaligned logos, bunched threads, and costly do-overs.
But with the right knowledge—and ideally, the right digitizing partner—you can create crisp, perfectly placed designs on any hat type.
What's Your Reaction?


