Beginner’s Guide on How to Convert JPG to EXP Format

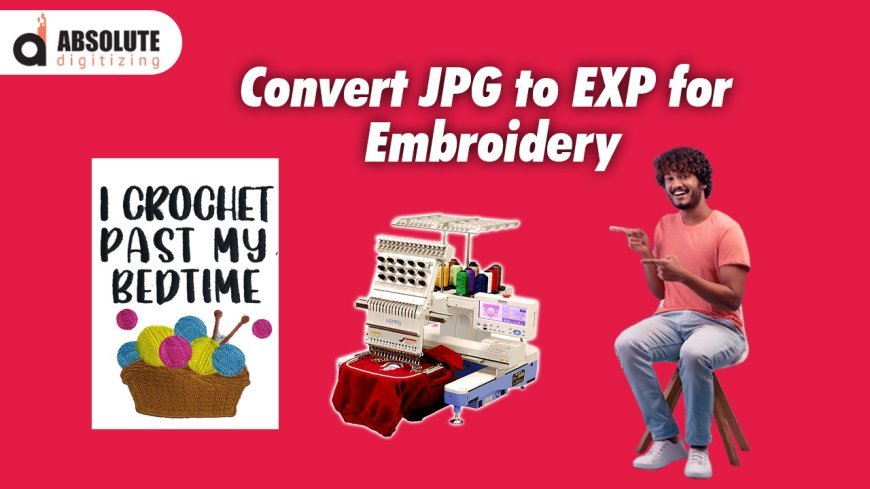
If you've got a Brother embroidery machine staring back at you while you're stuck with a JPG file, don't panic. Converting images to EXP format isn't as scary as it sounds, but it's not as simple as clicking "save as" either. Let me walk you through the entire process on how to convert JPG to EXP for embroidery, so you can turn your favorite pictures into stitch-ready designs without pulling your hair out.
Why Your JPG Won't Work Straight from the Camera
That vacation photo or company logo saved as a JPG might look perfect on your screen, but embroidery machines don't see images—they read stitch instructions. Here's why JPGs fail miserably for embroidery:
- Pixels vs. Stitches: Your photo is made of colored squares, but embroidery needs paths for the needle to follow
- No Depth Information: JPGs are flat—they don't know what should be satin stitch versus fill stitch
- Color Limitations: That subtle gradient becomes a nightmare in thread
- Size Problems: Resizing often distorts important details
I once watched someone try to stitch a pixelated cat meme directly from a JPG. The result looked like it survived a shredder—don't let this be you.
The Real Conversion Process (It's Not What You Think)
Converting JPG to EXP isn't a direct file change—it's a translation process called digitizing. Here's how it actually works:
- Import your JPG into embroidery software
- Trace the important elements (this is where the magic happens)
- Assign stitch types to different areas
- Set the correct stitch directions and densities
- Export as EXP for your Brother machine
The key difference between a bad conversion and a professional one? About 50 tiny adjustments you'd never think about as a beginner.
Free vs. Paid Software Options
Free Route (Good for Simple Designs)
- Ink/Stitch: Open-source extension for Inkscape
- SewArt: Basic auto-digitizing with manual tweaks
- My Editor Online: Web-based simple converter
Paid Options (Worth It for Serious Work)
- Hatch Embroidery: $99 for beginner version
- Embrilliance: Around $129 for Essentials
- Brother PE-Design: Specifically for Brother machines
I started with free software but quickly hit walls—those $100 programs pay for themselves when you're not redoing failed designs five times.
Step-by-Step Walkthrough
Let's convert a simple text logo together so you can see the process:
Clean Up Your Image First
o Open in Photoshop or even Paint
o Increase contrast so edges are clear
o Crop out unnecessary background
Import to Your Software
o File > Import (usually under 1000px works best)
o Set your desired hoop size
Auto-Trace the Outline
o Use the magic wand or trace function
o Don't panic when it looks terrible—this is normal
Manual Adjustments
o Delete extra points creating jagged edges
o Smooth curves where letters need to look clean
o Join broken segments
Assign Stitch Types
o Text usually gets satin stitch
o Background gets fill stitch
o Tiny details might need running stitch
Test Your Settings
o Check stitch density (0.4mm is standard for most fabrics)
o Preview how stitches lay (look for crossing threads)
Export as EXP
o File > Save As > Choose EXP format
o Some programs call this "Punch" or "Send to Machine"
Common Beginner Mistakes to Avoid
- Over-digitizing: More stitches ≠ better quality
- Ignoring underlay: Your design will sink without it
- Using wrong densities: Too dense puckers, too sparse looks patchy
- Forgetting pull compensation: Designs shrink when stitched
A student of mine once digitized an eagle with every feather individually stitched. The machine took 8 hours to complete what should've been a 45-minute design. Learn from her pain.
When to Call in the Pros
Even after learning the basics, some projects need expert hands:
- Photorealistic portraits
- Designs smaller than 2 inches
- Complex logos with gradients
- Metallic or specialty threads
Professional digitizing services cost $10-$50 per design but save you hours of frustration on tricky projects.
Testing Your First EXP File
Before stitching on final fabric:
- Hoop scrap fabric (same type you'll use)
- Watch the first few stitches for tension issues
- Check registration (do colors line up?)
- Feel the back (too many jumps or knots?)
My first successful EXP conversion was a simple heart shape. It took three tries, but when that machine stitched it perfectly? Pure magic.
Where to Find Practice Designs
Build your skills with these free resources:
- Embroidery Library's free section
- Urban Threads freebies
- Dollar store coloring books (simple shapes work great)
Remember—every expert digitizer started where you are now. Your first EXP files might not be perfect, but each one teaches you something new. The key is starting simple, being patient with the process, and celebrating when your machine finally stitches out exactly what you envisioned.
Now grab that JPG you've been wanting to stitch and start experimenting. Before you know it, you'll be converting images like a pro and wondering why you ever found it intimidating. Happy stitching!
What's Your Reaction?


